Multi-Contact MA255 Manuel d'utilisation
Page 8
Advanced Contact Technology
8 / 12 www.multi-contact.com
14
15
16
Fermeture du boîtier de jon-
ction
Closing of the junction box
(ill. 14)
Dès que le boîtier de jonction a été
correctement rempli d’encapsulant
et pendant que celle-ci est encore
liquide, alignez le couvercle et appli-
quez une force suffisante à l’endroit
où le couvercle touche les sorties de
connecteur, derrière le logo MC, pour
positionner parfaitement le couvercle.
(ill. 14)
Immediately after the junction box has
been appropriately filled with the pot-
tant while the pottant is in the liquid
state, align the lid and apply sufficient
force where the lid meets the connec-
tor outlets behind the MC logo to fully
seat the lid.
Durcissement de l’encapsulant
Curing of the pottant
(ill. 15)
Pour le durcissement correct de l’en-
capsulant dans le boîtier de jonction,
placez le module PV verticalement
avec un angle de 10 à 30 degrés d’in-
clinaison vers l’avant du module, les
sorties de connecteur étant dirigées
vers le bas, à l’opposé du dessus du
module PV, pour permettre à d’éven-
tuelles bulles d’air dans l’encapsulant
de migrer vers un endroit sûr dans
le boîtier de jonction. Le placement
suivant cette orientation dépend de la
viscosité de l’encapsulant et devrait
être effectué avant la “gélification” du
matériau mais à partir du moment où
l’encapsulant est trop visqueux pour
s’échapper de la zone du couvercle.
(ill. 15)
For the proper curing of the pottant
in the junction box, stand the PV
module up vertically with a 10 - 30
degree tilt towards the front of the
module oriented so that the connec-
tor receptacles point downward away
from the top of the PV module, to
allow any air bubbles in the pottant to
migrate to a safe area in the junction
box. Placement into this orientation
is dependent on pottant viscosity and
should occur prior to material “gel-
ling” but after the point at which the
pottant is too viscous to escape from
the lid area.
Attention
Respectez les temps de prise et
de durcissement recommandés
par le fournisseur de la colle et
de l’encapsulant, de même que
les conditions de durcissement
appropriées (c. -à-d. température
et humidité de l’air, ventilation
correcte, etc.).
Attention
Take care to follow the adhesive
and pottant material suppliers’
recommended tack and cure
times, as well as the appropriate
curint conditions (ie temperature
and humidity conditions, proper
ventilations, etc.).
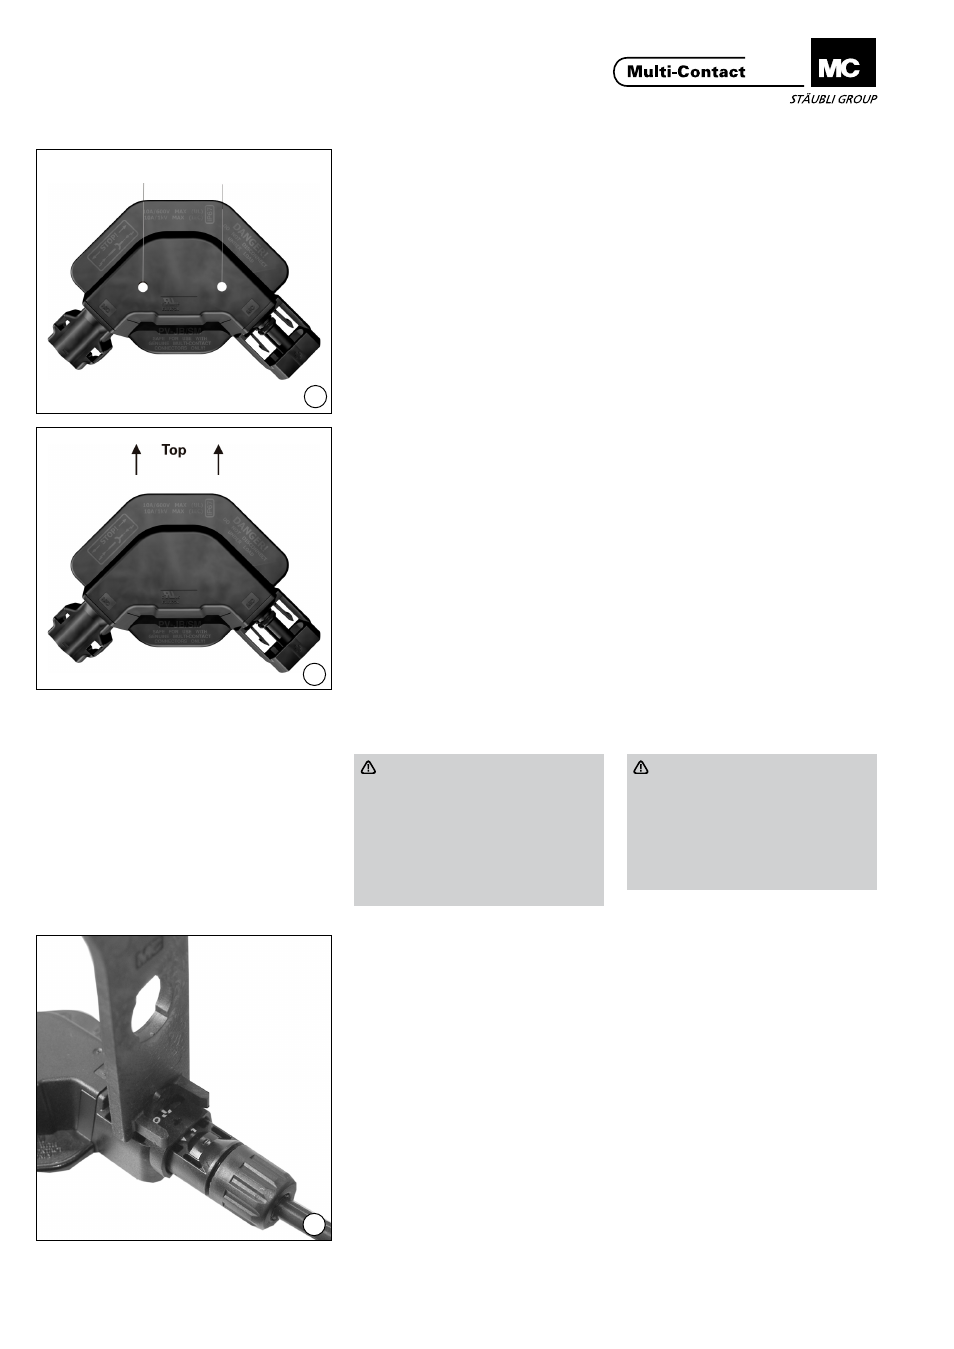
Brancher et débrancher le
coupleur de câble
Plugging and un-plugging the
cable coupler
(ill. 16)
Insérez le connecteur jusqu’à ce
qu’il s’engage. Vérifiez qu’il est
correctement engagé en tirant sur la
connexion.
(ill. 16)
Plug the coupler until it engages.
Check correct engagement by pulling
on the coupling.
Le connecteur ne peut être déverrouil-
lée qu’avec l’outil PV-MS.
The plug connection can only be un-
locked with the tool PV-MS.
Appuyer ici
Press here