Multi-Contact MA016 Manuel d'utilisation
Page 3
Advanced Contact Technology
www.multi-contact.com
3 / 4
1
2
3
4
5
6
7
8
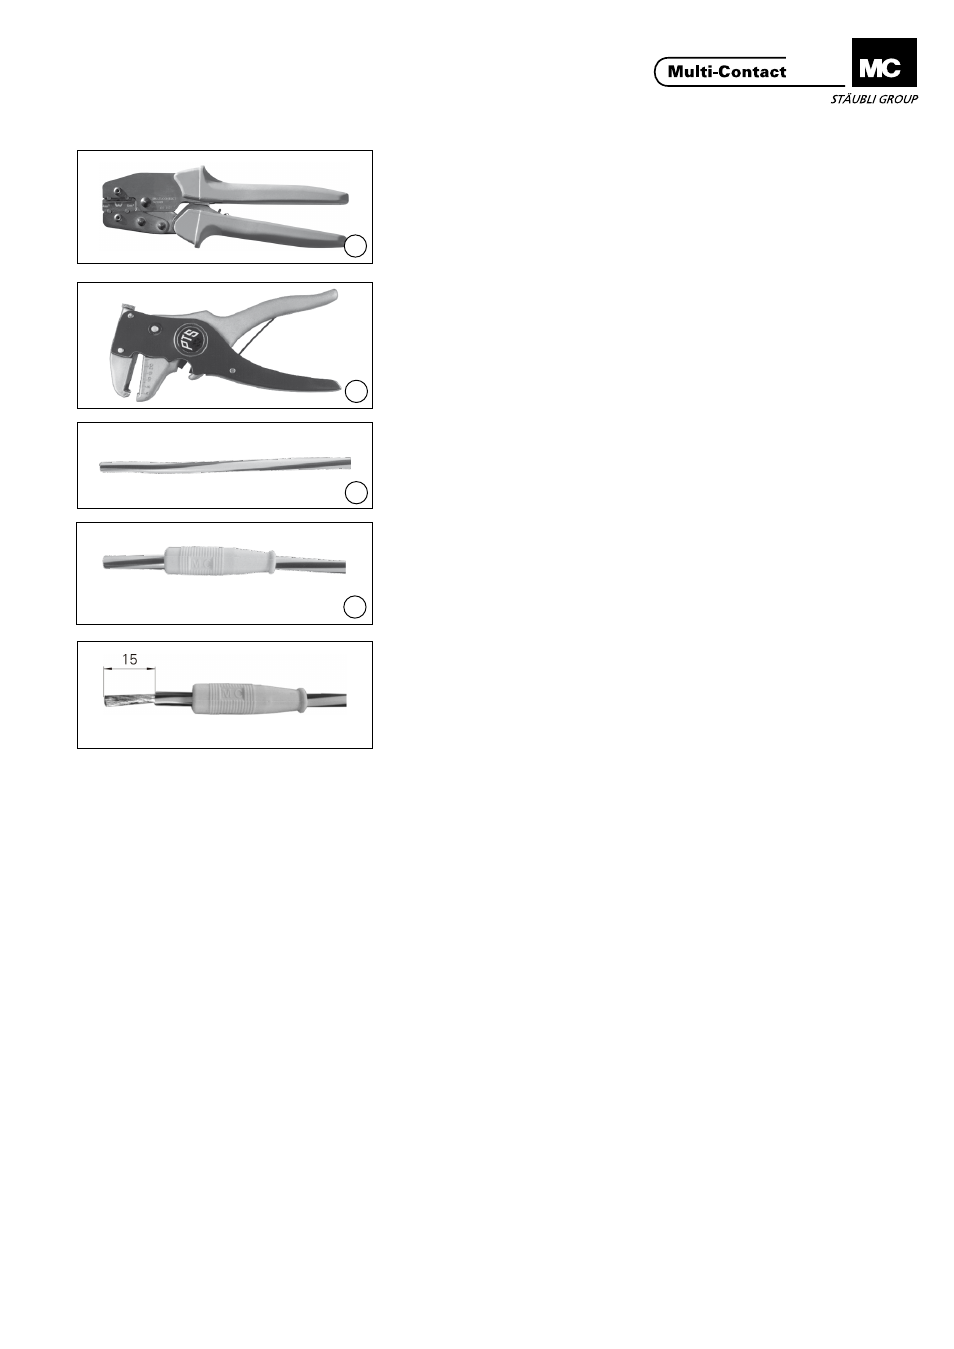
Outillage nécessaire
Tools required
(ill. 1)
Pince à sertir POAG-PZ-N
No� de Cde 14�5009
(ill. 1)
Crimping pliers POAG-PZ-N
Order No� 14�5009
(ill. 2)
Pince à dénuder PTS pour câbles de
6 mm
2
max�, No� de Cde 25�0016
(ill. 2)
InsulationstrippingpincerPTSforca-
bleswithcross-sectionsupto6 mm
2
Order No� 25�0016
Préparation du câble
Cable preparation
(ill. 3)
Couper le câble 3 à la longueur pré-
vue�
(ill. 3)
Cut the cable 3 to the desired length�
(ill. 4)
Glisser le manchon 2 sur le câble 3�
(ill. 4)
Push the sleeve 2 onto the cable 3�
Remarque:
Pour faciliter le montage, utiliser
du talc�
Note:
The sleeve slides easier with
talcum powder�
(ill. 5)
Dénuder le câble sur une longueur de
15 mm.
(ill. 5)
Strip cable insulation to the length of
15 mm.
Confection
Cable assembly
(ill. 6)
Introduirelecâbledanslefыtаsertir
de la douille 1�
Le conducteur doit être visible par
l’orificedecontrôle(L).
(ill. 6)
Insertcableintothecrimpingsleeve
of the socket 1�
Cable must be visible in the
sight-hole (L)�
(ill. 7)
Sertir le câble à l’aide de la pince à
sertirPOAG-PZ-Netleprofildesertis-
sage adéquat 4-6� Respecter la zone
de sertissage (P)�
(ill. 7)
Crimp the cable with the crimping pli-
ers POAG-PZ-N� Crimp in the crimping
zone(P)withthecorrectpressprofile
4-6�
Remarque:
Ne pas souder ou braser le câble!
Note:
Do not solder or weld the cable!
Montage du manchon
Sleeve assembly
(ill. 8)
Glisser le manchon 2 sur la douille 1�
(ill. 8)
Push the sleeve 2 over the socket 1�