Preparation, Before you begin, Installation checklist – Bosch Benchmark Series 30 Inch Slide-In Electric Range Installation Instructions Manuel d'utilisation
Page 7: Tools and parts needed, Parts included, Remove packaging, Packaging bracket removal-left and right sides, Preparing oven
English 3
Preparation
Before You Begin
Tools and Parts Needed
•
40 or 50 Amp power supply cord kit with strain relief
(depending on local code).
Note:
Not necessary for Canadian installations, cord is
preinstalled at factory.
•
Measuring Tape
•
Phillips Head Screwdriver
•
1¼" Wrench
•
Pencil
•
T-20 Torx Screwdriver
•
Screws (2) and Anchors (2) for Anti-Tip Bracket (Style
will vary depending on mounting surface)
•
Level
•
Drill and Drill Bit (3/16" masonry bit for concrete
screws)
•
Soapy Water
•
Safety Gloves and Goggles
•
Cloth or Cardboard (Optional - to Protect Floor)
Parts Included
•
Anti-Tip Bracket
•
2 wood screws
•
2 anchorless concrete screws
•
Foam Tape (unless already installed on underside of
cooktop sides)
•
Terminal lugs (for use with hard-wired installations)
Note:
Terminal lugs are not necessary for Canadian
installations.
Additional Parts Needed for Hard-Wired
Installations
•
Flexible conduit
•
Torque wrench
Note:
Power supply cord kit is not necessary for hard-wired
installations.
cabinet dimensions are correct for your unit and
that the required electrical connections are
present
.
___ 2. Refer to the installation manual for content
regarding Safety, Cabinet Dimensions, Removing
Packaging, Electrical Installation, Testing the
Installation and Customer Service.
Remove Packaging
1.
Cut the straps.
2.
3.
Open top of carton and remove top wood frame.
Lift the carton up and over the appliance to remove, or
carefully cut along the cut line on the back left side of
the carton with a blade shorter than 3/4” and remove
carton.
4.
Carefully remove internal protective packaging taking
care to secure any loose accessories and instruction
manuals.
5.
Remove bracket(s) securing appliance to base pad, if
present.
6.
The unit should stay on the packaging base until ready
to be lifted into cabinet cutout.
7.
Install the appliance according to the installation
instructions.
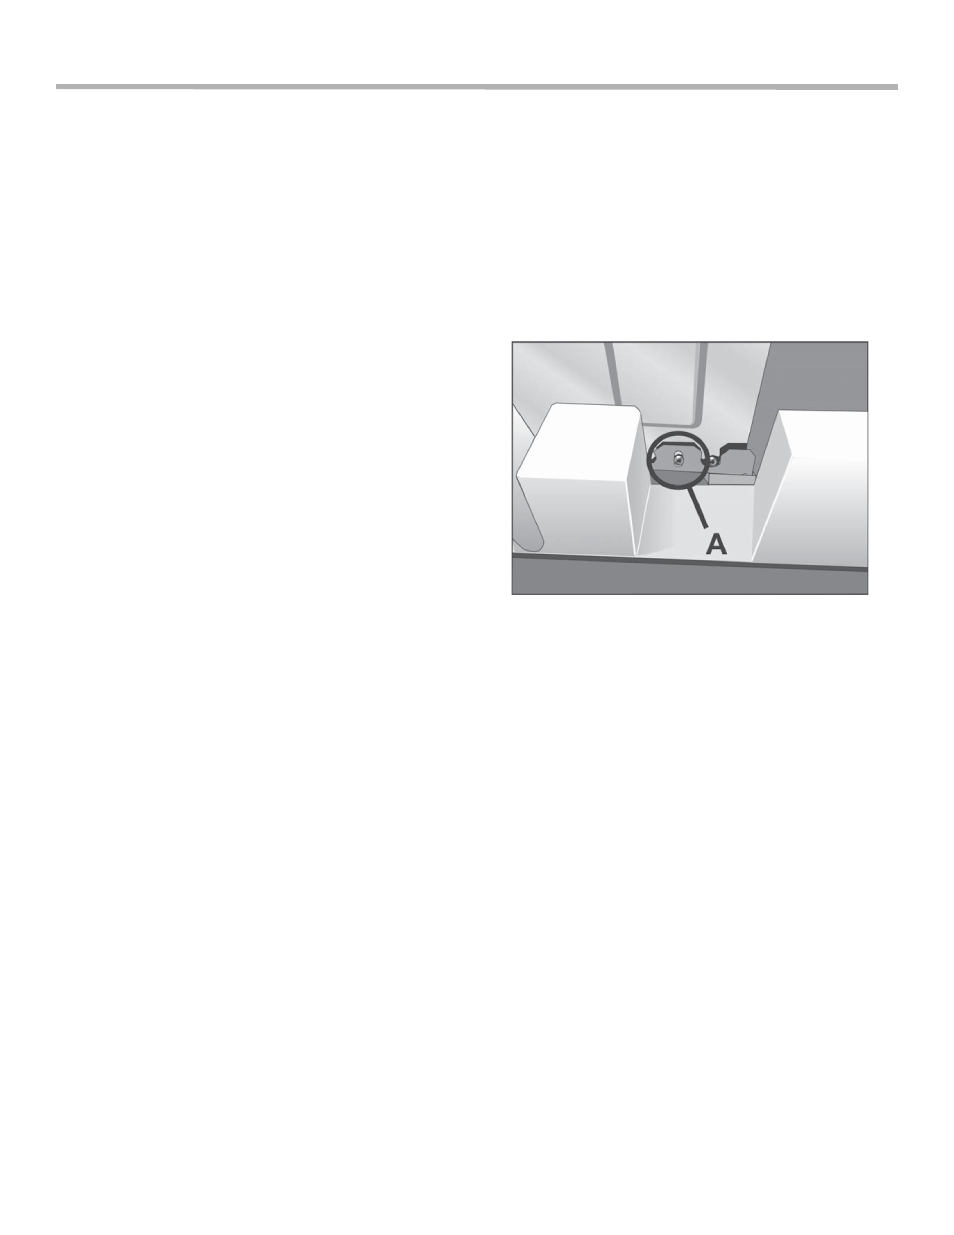
Packaging Bracket Removal-Left and
Right Sides
Note:
Actual bracket varies in appearance. The bracket
remains in the packaging base. The unit should stay on
the packaging base until ready to be lifted into cabinet
cutout or onto the lower oven.
Preparing Oven
Place oven in front of the cabinet where it is to be
installed so that
it is
in line with the cabinet cutout.
Check to be sure all packing materials have been
removed from the unit. Also remove the accessories,
oven racks, literature pack and any shipping materials
from inside the oven cavity.
Installation Checklist
Please refer to the pages following for complete
installation instructions. Use this checklist to verify that
you have completed each step of the installation process.
This can help you avoid mistakes.
___ 1.
Before installing the range, be sure to verify the