Step 2 - locate wall studs, Step 3 - align rear wall template and mark wall – haier 24 Inch Over-the-Range Microwave Installation Guide Manuel d'utilisation
Page 9
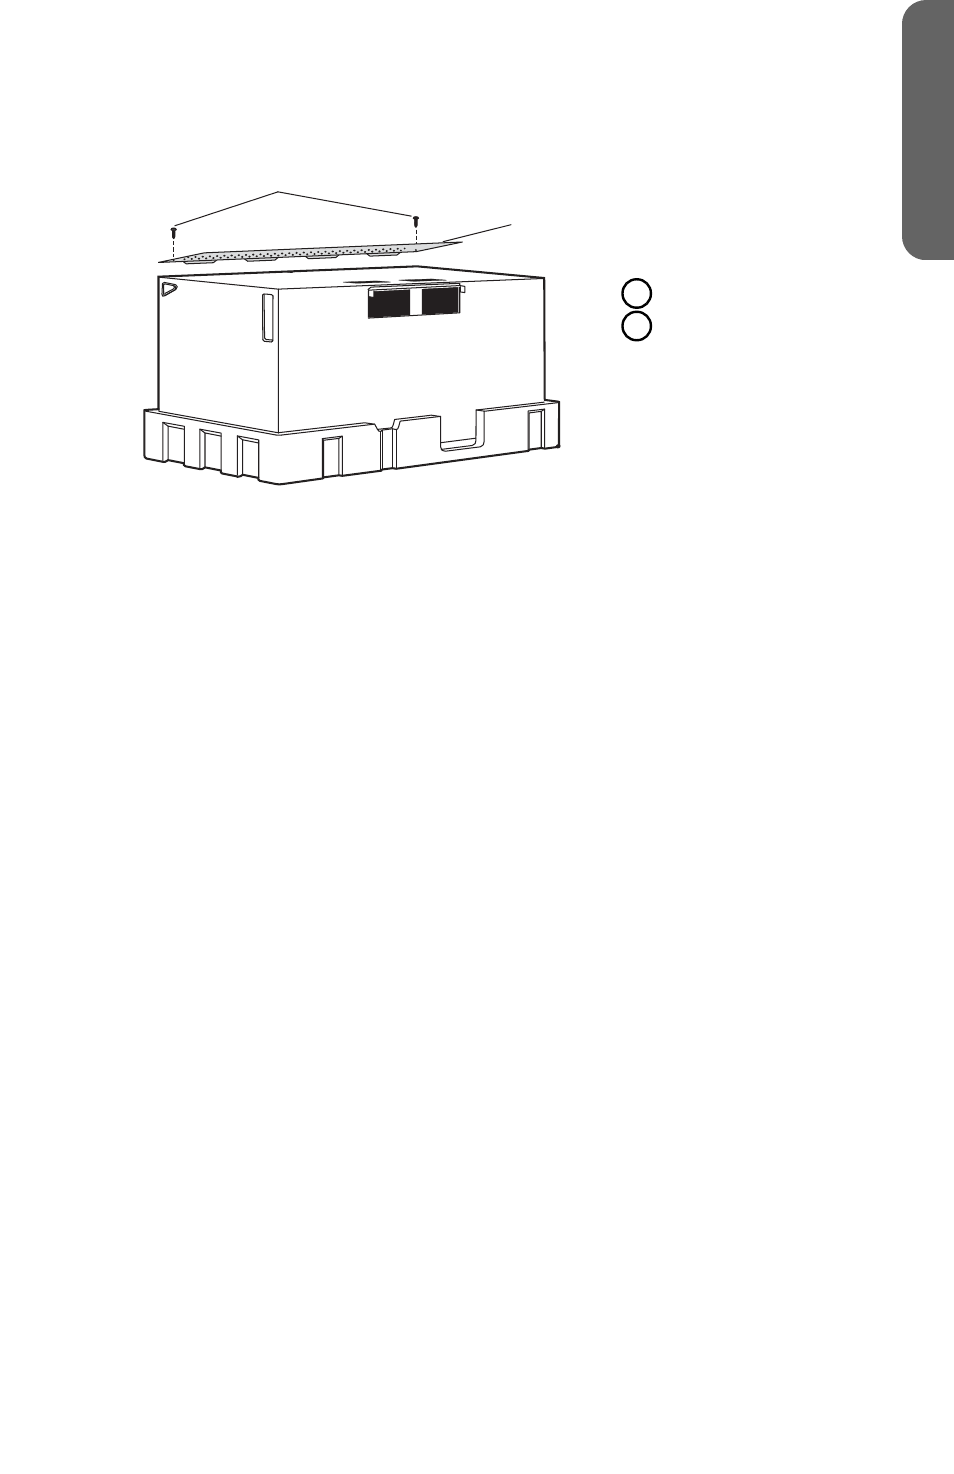
NOTE:
The mounting plate will be used as the wall template and to mount
the microwave oven onto the wall.
a
b
A
Screws
B
Mounting Plate
(Wall Template)
5. Replace the two screws into the holes from which they were removed.
STEP 2 - LOCATE WALL STUDS
IMPORTANT:
The microwave must be installed to at least one wall stud,
preferably two wall studs. If there is no wall stud within the cabinet opening, do
not install the microwave oven.
1. Find the studs using one of the following methods:
Stud finder – a magnetic device that locates nails.
OR
Using a hammer, tap lightly across the mounting surface while listening for a
solid sound. A solid sound indicates a stud location.
2. After locating the stud(s), find the center by probing the wall with a small nail to
find the edges of the stud. Then place a mark halfway between the edges. The
center of any adjacent studs should be 16" (40.6 cm) or 24" (61 cm) from this
mark.
3. Mark the center of the adjacent stud, and then draw a vertical plumb line down
the center of each stud.
STEP 3 - ALIGN REAR WALL TEMPLATE AND MARK
WALL
Overhead cabinet styles vary. Follow the instructions that apply to the cabinet style
in your home.
IMPORTANT:
Disconnect power to electrical outlet.
STYLE 1 - FLAT-BOTTOM CABINET
IMPORTANT:
The microwave must be level. Use a carpenter’s level to make
sure the cabinet bottom is level.
1. Draw a vertical line on the wall at the center of the 24" (61 cm) wide opening.
2. Place the Mounting Plate/Rear Wall Template onto the wall so that the
centerline of the template is aligned with the center line, and the top of the
template is touching the bottom of the cabinet. Tape the template in this
position.
7
ENGLISH