Chapter 10 : control software – Analog Way HD Scan AG/DG - XTD920 Manuel d'utilisation
Page 17
HD SCAN™
PAGE 17
Chapter 10 : CONTROL SOFTWARE
10-1. CONNECTION
• CONNECTING THE RS-232:
Connect the serial port of your control device to the REMOTE CONTROL (RS-232) connector (DB 9 Female) of the
HD SCAN
™
with a straight cable (DB 9 Female / DB 9 Male).
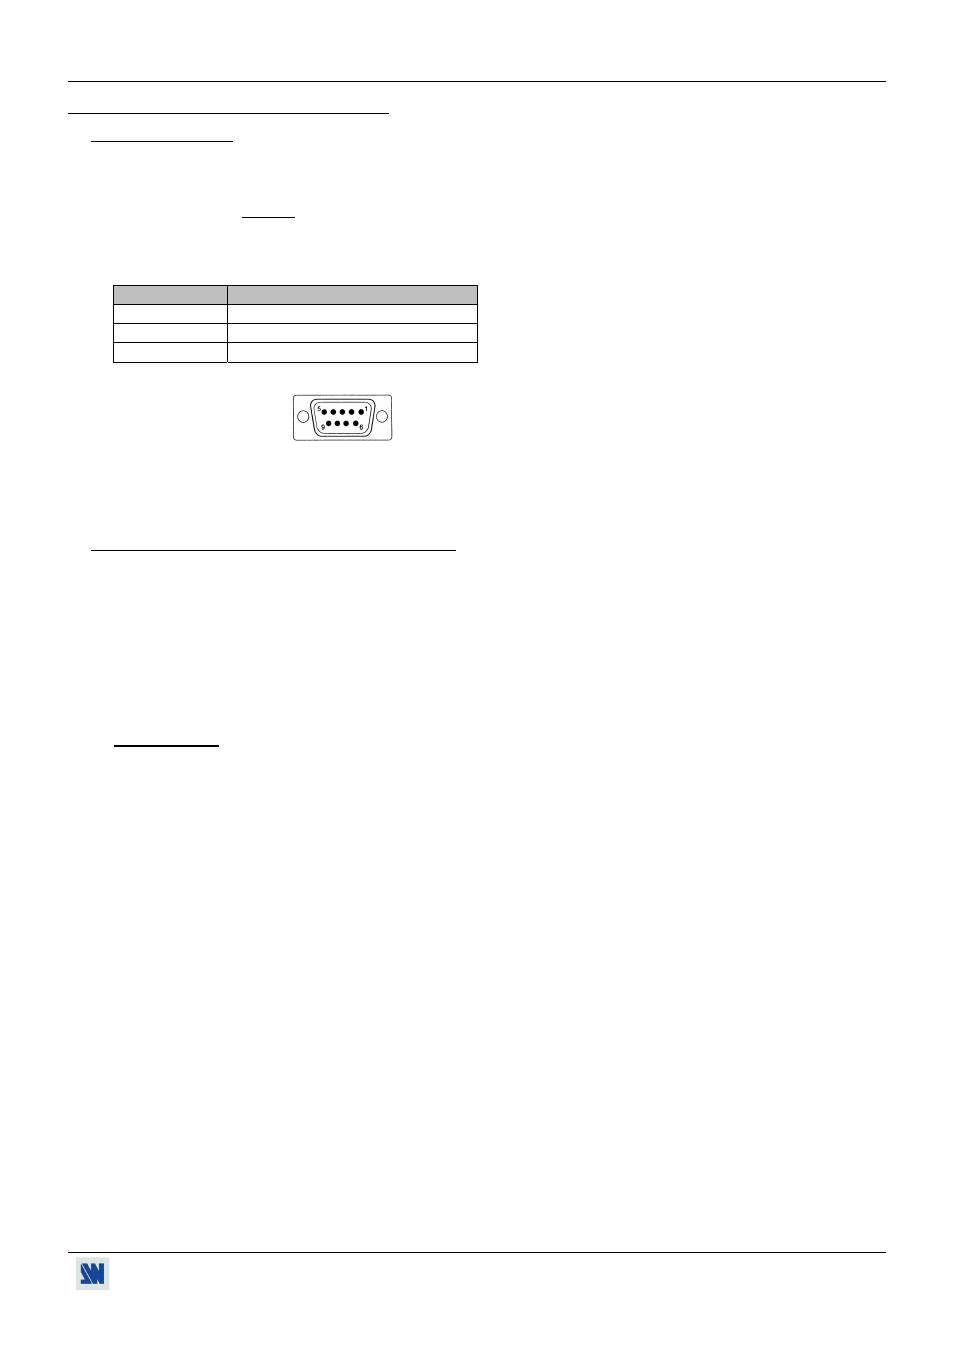
• PIN-OUT:
PIN #
FUNCTIONS
2 TRANSMIT
DATA
(Tx)
3 RECEIVE
DATA
(Rx)
5 GROUND
(Gnd)
DB 9 female
(Rear panel of the HD SCAN
™
)
• SPEED TRANSMISSION: 9600 bauds, 8 data bits, 1 stop bit, no parity bit, no flow control.
10-2. "HD SCAN REMOTE CONTROL" SOFTWARE
Your HD SCAN
™
is shipped with a WINDOWS 95/98/2000/Me/XP compatible "HD SCAN
™
REMOTE CONTROL"
software (3.5" disk). This software allows you to control and make adjustments by a simple mouse click (output format,
image adjustments, etc...).
• SOFTWARE INSTALLATION:
c Turn your computer ON and wait for Windows to completely start.
d Insert the CD-ROM into your drive: the ANALOG WAY home window will open automatically.
e Select the language of the CD-ROM menus, then click on "Install a Remote Control Software" and select the name
of your device.
IMPORTANT: If the Autorun is not enabled: From the Windows desktop, open My Computer and select the CD-
ROM drive. Select the Autorun folder, then select the autorun.exe file.
f Follow the Windows installation instructions.
• STARTING UP:
c Connect the RS-232 cables between the control device and the HD SCAN
™
as indicated in section 10-1.
d Then only power ON all of the devices.
e Click on the program files XTD920 in Start-program-ANALOGWAY-HD SCAN to run the software.
f Click on Controls menu and select the Serial port.
The HD SCAN
™
is now controllable by the computer.