Installation requirements, Please read and save this guide, Questions – Electrolux 24 Inch Electric Ventless Dyer Installation Guide Manuel d'utilisation
Page 4
Installation Requirements
Unpacking
Plastic film (lining drum interior) is removed
and discarded. See also image below.
Leveling
Dryer is level, side-to-side and front-to-
back
Cabinet is setting solid on all corners
208v/240v Electric Supply
Approved NEMA 10-30 or 14-30 service
cord with all screws tight on terminal block
Terminal access cover/strain relief installed
before initial operation
Note:
Dryers operating on 208 volt power
supply will have longer drying times than
dryers operating on 240 volt power supply.
Door Reversal
Follow detailed instructions in this guide
Test hinge and latch for function
Electrical Power
House power turned on
Dryer plugged in
Final Checks
Installation Instructions and Use & Care
Guide read thoroughly
Door latches and drum tumbles when
cycle starts
Registration card sent in
Installation Checklist
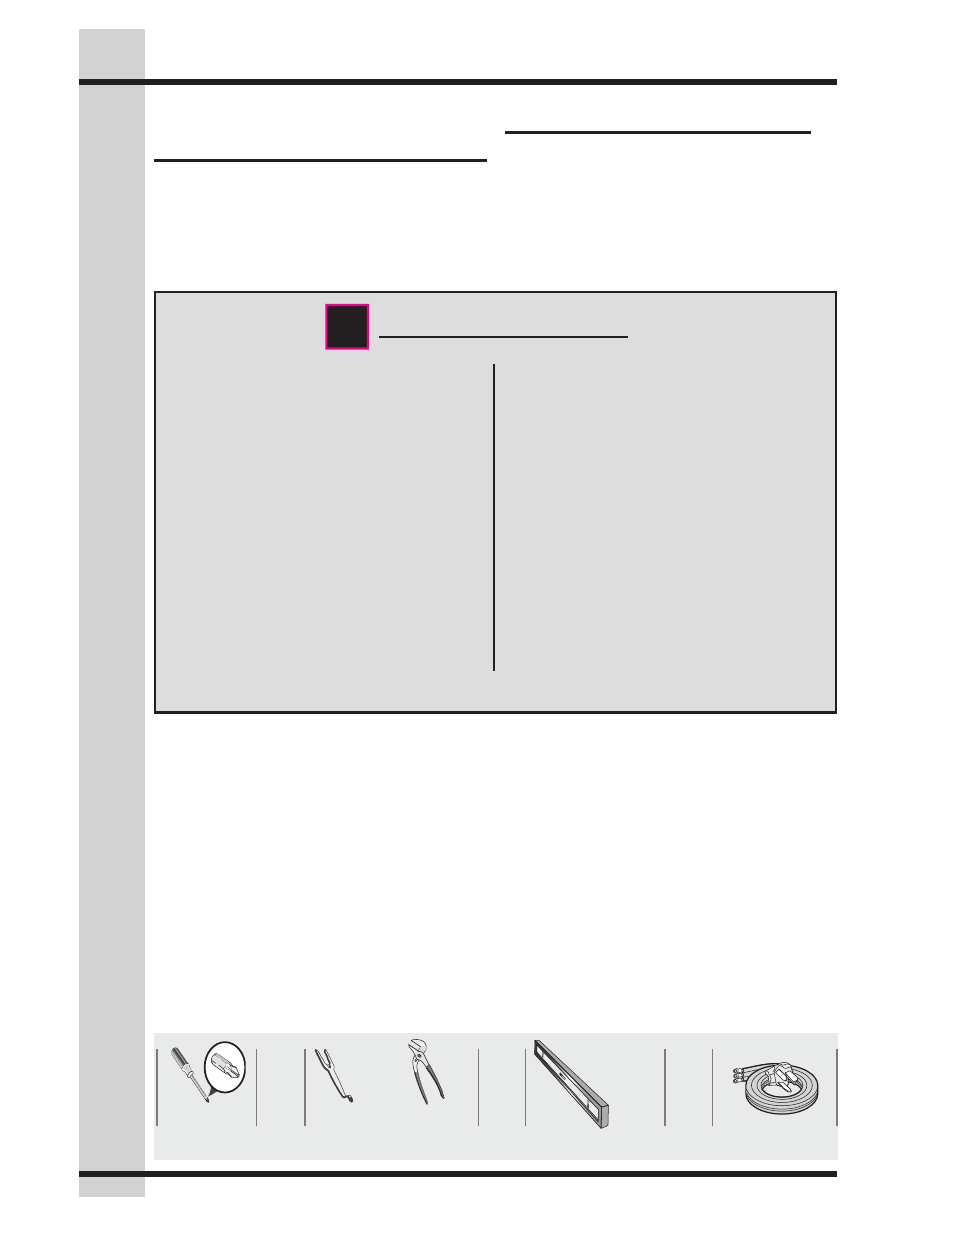
Tools and Materials Needed for Installation:
Adjustable
pliers
OR
AND
AND
Phillips
screwdriver
Carpenter’s level
Optional
universal
wrench
3- or 4-wire
240 volt cord kit
AND
Please Read and Save this
Guide
Thank you for choosing Electrolux, the pre-
mium brand in home appliances. These Instal-
lation Instructions are part of our commitment
to customer satisfaction and product quality
throughout the life of your new appliance.
Questions?
Toll-free telephone and online support:
U.S.
:1-877-4ELECTROLUX
(1-877-435-3287)
www.electroluxappliances.com
Canada:
1-800-265-8352
www.electroluxappliances.ca
9
4